引言
在联通营业厅更换宽带套餐时加钱买了个小度智能音箱,从一开始只是查查天气、放放歌,我现在它做得更多一些,比如说本篇教程提到的控制家里的电器。
准备
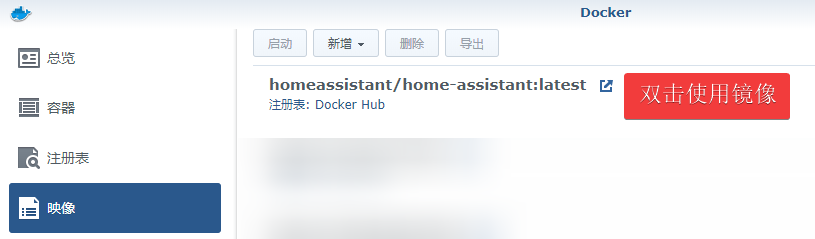
- 群晖DSM使用Docker下载安装homeassistant/home-assistant
- 购买小米米家智能插座插头WiFi版
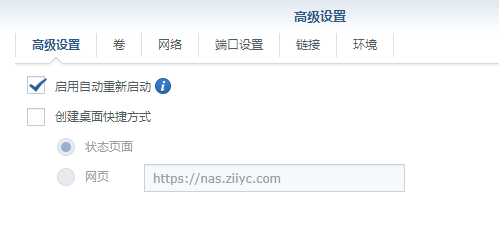
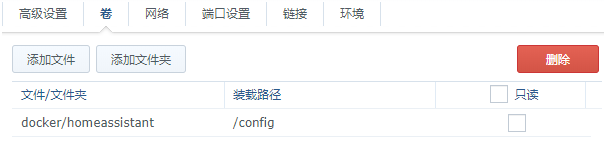
Home Assistant配置步骤
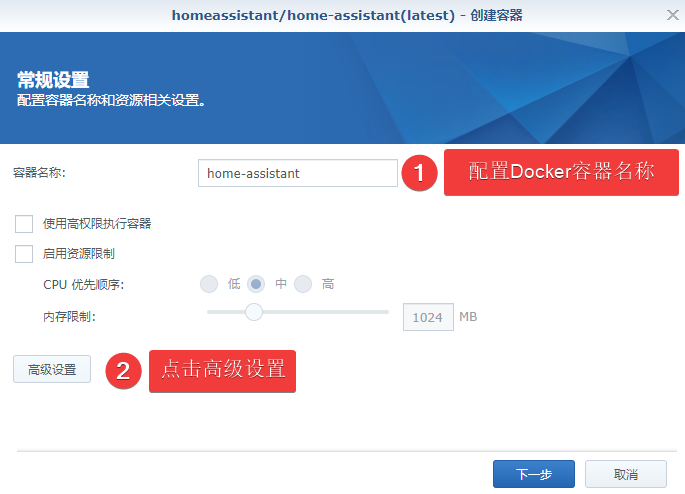

应用后启动即可,配置界面连接为http://nas_ip:8123
扩展:公网Https方式访问Haome Aassistant
如果需要在公网中使用Home Assistant,可以使用内网穿透工具frp。Home Assistant默认监听本地8123端口,使用Websocket连接。
nginx配置
1
2
3
4
5
6
7
8
9
10
11
12
13
14
15
16
17
18
19
20
| server {
listen 443 ssl;
server_name hass.domain.com;
ssl_certificate /etc/nginx/ssl/domain.com.key.pem;
ssl_certificate_key /etc/nginx/ssl/domain.com.key;
ssl_session_timeout 5m;
ssl_ciphers ECDHE-RSA-AES128-GCM-SHA256:ECDHE:ECDH:AES:HIGH:!NULL:!aNULL:!MD5:!ADH:!RC4;
ssl_protocols TLSv1 TLSv1.1 TLSv1.2;
ssl_prefer_server_ciphers on;
location / {
proxy_set_header Host $http_host;
proxy_pass http://127.0.0.1:[frp_port];
}
location /api/websocket {
proxy_pass http://127.0.0.1:8123;
proxy_http_version 1.1;
proxy_set_header Upgrade $http_upgrade;
proxy_set_header Connection "upgrade";
}
}
|
frpc配置
1
2
3
4
5
6
7
8
9
10
11
| [hass-ws]
type = tcp
local_ip = 127.0.0.1
local_port = 8123
remote_port = 8123
[hass]
type = http
local_ip = 127.0.0.1
local_port = 8123
custom_domains = hass.domain.com
|
参考文章
智能家居论坛